This document describes how to make shell blinkers with a home-made vacuum forming table.
(I discuss only how to make the shells themselves here. Installing them onto the eye assembly is a topic for another page, not yet ready for publication.)
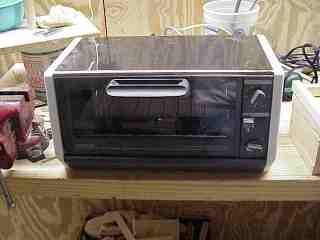
This project takes only about 2 hours from raw material to completion. Other than for the styrene, which you can purchase at a hobby shop, you can use stuff found in the workshop, a vacuum cleaner and a kitchen toaster oven. The total time to make a pair of blinker shells once you have the table and frame built is about 10 minutes including trimming and finishing.
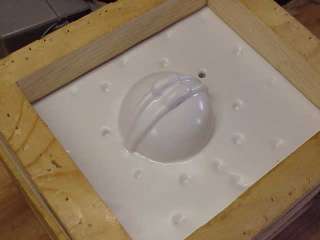
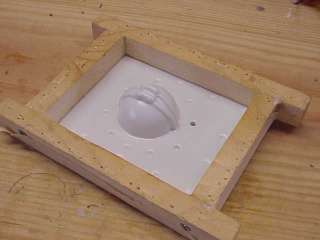
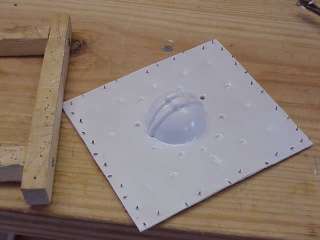
The table top has a number of 3/16" holes drilled and one 1 1/2" hole in the center into which the blinker form fits.
The table top and sides are sealed with Elmer's Carpenter's glue and nailed to keep the table air tight.
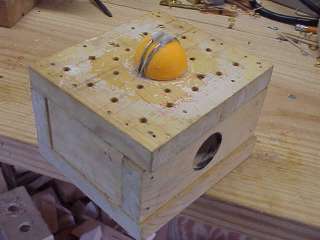
The ping pong ball half sphere is fitted over a 1 1/2" wooden sphere, which is glued into the 1 1/2" hole. This wooden inner core gives strength to the ping pong ball to facilitate adding the frame channel wires and linkage tabs.
The brass rod semicircles over the sphere form channels into which the blinker mechanism's frame attaches. The rods are offset from each other at an angle so that they each wrap around the circumference of the half ball at its logical center.
The channel rods on the form are filled in with MagicSculp or any other suitable filler material ( DAP Wood Dough, Apoxie Sculpt, Plastic Wood, etc.) to eliminate undercuts in the formed styrene, which would make it difficult to remove from the table.
The raised sections at the center of the rods form tabs for the blinker's control linkage. I formed these sections from MagicSculp.

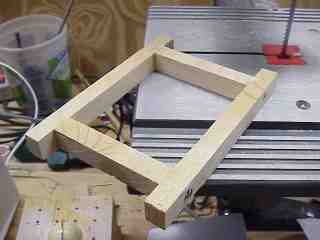
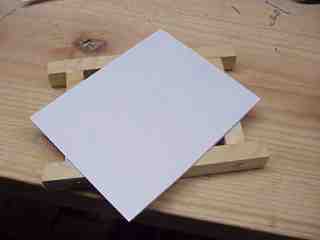
Cut out a rectangular piece of styrene with scissors to fit the frame flush with its edges.
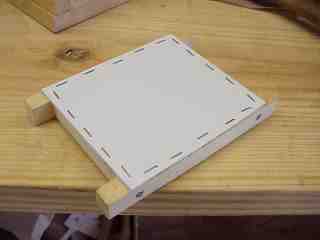
Staple the styrene to the frame. You don't want any part of the styrene hanging over after it is stapled in place on the frame. Hanging edges would droop and create air leaks between the table and the frame. Use lots of staples. Tap them as flush as you can get them with a hammer.
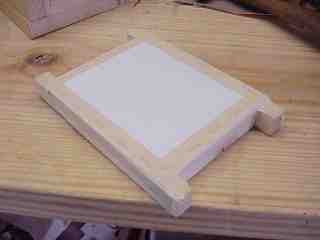
Seal the styrene around its edges with masking tape. The idea is to get as air-tight a seal as possible.
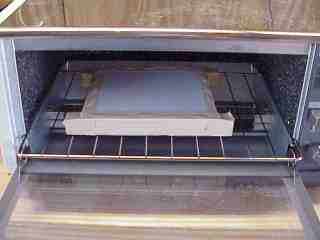
Heat the styrene with the bake/broil setting at 350 degrees. Watch it through the oven door's window. Leave it in there until the styrene uniformly sags down into the frame but not touching the oven rack.
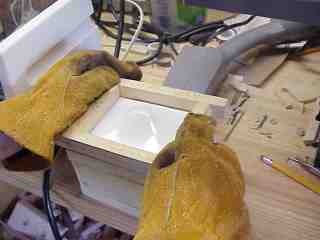
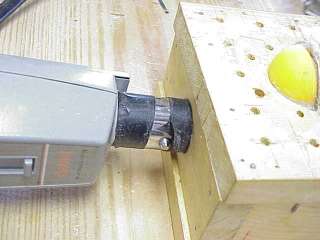
Turn on the vacuum cleaner right away before the styrene can cool.
(If you are doing this project alone, you'll need a foot switch because it takes both hands to press the frame down on the table. If your vacuum cleaner does not have a foot switch, use a power strip with a rocker switch positioned on the floor where you can reach it with your foot.)
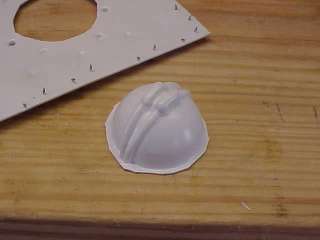
Almost immediately after you turn on the vacuum cleaner, the vacuum forms the styrene into the half sphere with two offset center frame channels.
Remove the styrene from the frame.
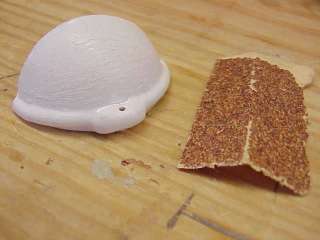
Cut out the half sphere with scissors.
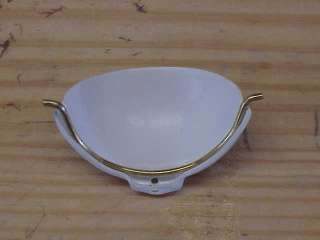
Cut the half sphere into two quarter sphere eyelids splitting between the two frame channels. I find it simplest to use a band saw to separate the two eyelids although you can do it with an Xacto knife. Make sure that the channel edges are intact at the back of the lids so the frames fit snugly. Trim the eyelid front edges with scissors and sand them to smooth edges.
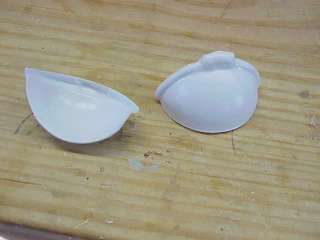
Trim the corners of the blinkers so they don't interfere with the bends in the frames.
Drill 1/16" holes through the linkage connecting tabs. These holes will receive the linkage rods when you build the blinker assembly.
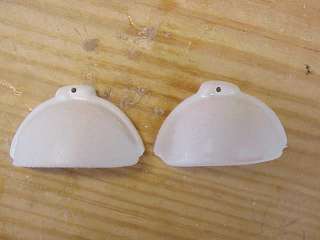
Sand the blinker surfaces with 60 grit sandpaper to roughen the surfaces to receive paint.
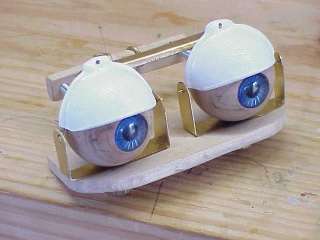
The channels across the tops of the blinkers are where you will glue the wire frames of the mechanics at the back of the blinkers.
I tested two kinds of Zap and both worked. Zap CA is meant for tacking applications and sets up in just a couple of seconds. Zap-A-Gap is meant for filling gaps. Zap-A-Gap is thicker and less runny and works well by itself. Zap CA works well if you sprinkle some baking soda on the parts to be glued before applying the Zap. The baking soda absorbs the Zap and tends to keep it from running all over the place. It also combines with the Zap to form a hard crust that you can cut with an Xacto knife to unglue the connection in case you make a mistake.