Installing the Headstick
by Al Stevens
al@alstevens.com
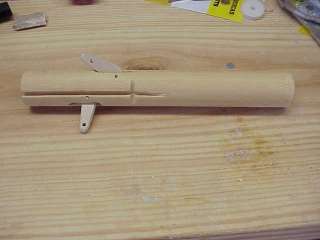
This procedure shows you how to install the completed headstick into the head. Our headstick, shown here, has two levers, one for the mouth movement and one for the blinkers, and a slot for the moving eye control rod.
Page 131 in Figure Making Can Be Fun has more detail on headstick installation and alignment.
Installing the headstick ought to be simply a matter of gluing it into the headstick hole at the base of the neck, but it isn't. The hole's diameter in the Fred head kit is slightly larger than that of a standard 1 1/4" wooden dowel. You'll have to build it up somewhat.
- Build sufficient layers of paper mache into a ridge around the end of the headstick to make it fit snugly into the hole. Use paper towels soaked in Elmer's white glue for the paper mache. Be careful not to plug up the levers' string holes.
- When the ridge is of sufficient diameter and is dry, apply a final coat of Elmer's.
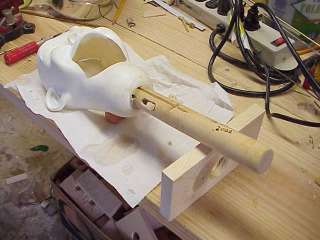
- Insert the headstick into the head with the levers properly positioned.
- Wipe off the excess glue from around the base of the neck.
- Prop the head up under the neck with a clump of modeling clay.
- Prop the headstick up with a piece of wood.
- Ensure that the headstick is accurately positioned in the head and allow the glue to dry.
- Install a large cup hook in the base of the headstick for a rubber band headstick lock.
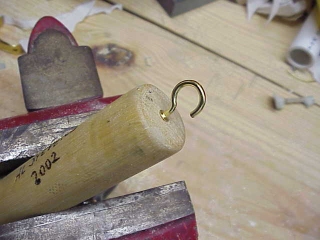
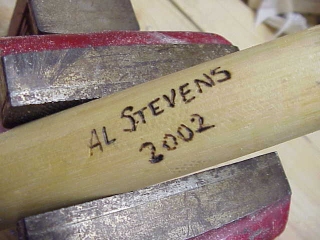
- If you care to autograph your creation, the headstick is a good place to do it. Use a woodburning tool to sign your name.